Testing Image Generation
I’ve been working on some code that generates images with Pillow. I had good test coverage right up until the functions that did the actual image generation, but then I got stuck: how does one test that the images are what is expected?
I thought about a few strategies:
Mock out the drawing interface (
PIL.ImageDraw) and check that the draw functions I expect are called. The downside here is that if I’m using drawing functions incorrectly but don’t realize it, I might have passing tests but broken images1. Also, I tend to try to avoid mocking whenever possible – it nearly always ends up biting me.Check specific pixels for their color. For example, if I draw a black rectangle covering
0, 0, 10, 10, I can check that the pixel at(5, 5)should be black. I didn’t like how fiddly this was going to be, particularly because much of what I’m drawing is text, so pixel positions are less obvious.Check that the image I generate matches a known-correct image – basically, an
assert_images_equalfunction. This seemed like the best approach for my situation, but I how would this work?
Turns out – it’s actually super easy! Here’s the core of the code 2 I wrote to do this, which I adapted from nicolashahn/diffimg:
from PIL import Image, ImageChops, ImageStat

 def assert_images_equal(im1: Image.Image, im2: Image.Image, delta: float = 0.01):
    assert im1.size == im2.size
    assert im1.mode == im2.mode

    diff = ImageChops.difference(im1, im2)
    stat = ImageStat.Stat(diff)
    num_channels = len(stat.mean)
    sum_channel_values = sum(stat.mean)
    max_all_channels = num_channels * 255.0
    diff_ratio = sum_channel_values / max_all_channels

    assert diff_ratio <= delta
The way this works is fairly simple, but super-effective:
ImageChops.difference3 creates a new image that’s a pixel-by-pixel diff of the original two images.ImageStat.Statcalculates stats for the image. We use themean, which is simply the mean pixel level for each channel (R/G/B/A) of the image. This is rough – a more fine-grained version could useImage.histograminstead – but seems to work perfectly fine for my purposes.Using that mean, we calculate an average value of the diff image across all channels. If the images are identical, the average will be zero (since the diff will be entirely blank).
One very cool side-effect of calculating the diff in this way is that diff is an actual image, that can be saved and inspected! It’ll highlight where the differences actually show up, which is a super-quick way of figuring out where problems lie.
In practice, I discovered that it’s much easier to read the diff image if I strip the alpha channel before saving:
diff.putalpha(255)
diff.save("somewhere.png")
To see how this works, here are two slightly different images: can you spot the difference?
| Image 1 | Image 2 |
|---|---|
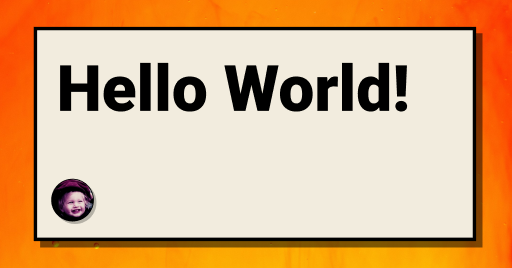 | 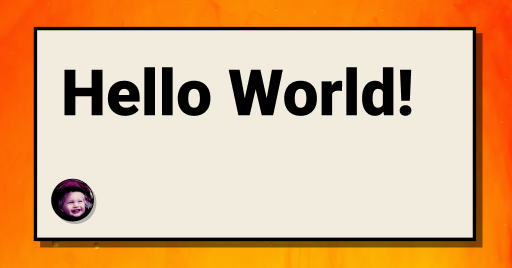 |
The difference is hard to see by eye, but he second image has the text shifted slightly (mimicking a hypothetical off-by-one error in rendering code). But, the diff image makes the error really obvious:
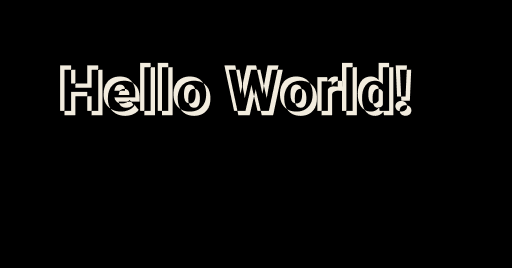
The difference value here is about 0.035, so the test would fail.
Neat, huh?
This actually happened: turns out that drawing with alpha channels on top of a background doesn’t work exactly the way I’d expected, and I ended up breaking transparency in a seemingly-innocuous refactor. The code looked right, but the images were all broken. If I’d used this approach, the tests wouldn’t have caught the problem. ↩︎
This is simplified for the blog; the full version includes some additional checks and better error reporting. Also, this is for pytest, which means it uses bare
asserts, but modifying for other test frameworks should be easy. ↩︎ImageChopsstands for “Image Channel Operations”. ↩︎